Introduction to Faux Finishing
Art of Faux Finish
Faux finishing, derived from the French word for “false,” encompasses an array of decorative painting techniques aimed at replicating the appearance of materials such as marble, wood, or stone. The artistry involved in faux finishes makes it an appealing choice for homeowners and designers seeking to elevate interior aesthetics without the expense and logistical challenges of installing natural materials. Its historic origins trace back to ancient Egypt and Rome, where artisans perfected trompe-l’œil, a technique meaning “deceive the eye,” to create stunning visual illusions on architectural surfaces.
Throughout history, faux finishing has undergone notable evolutions. The Renaissance period saw its resurgence as artists and craftspeople mastered techniques to adorn European cathedrals, palaces, and aristocratic estates with exquisite frescoes and intricately painted trompe-l’œil. Fast forward to modern-day applications, faux finishing remains a popular choice for its versatility and transformative potential. The allure of faux finishes lies in their ability to add depth, texture, and character to even the most ordinary surfaces, imbuing spaces with a unique blend of sophistication and charm.
Faux finishing offers a cost-effective and customizable alternative to its real counterparts. Homeowners and designers often opt for faux finishes to achieve a high-end look without the associated costs and maintenance of natural materials. Additionally, faux techniques enable a range of creative expressions, from the rustic elegance of weathered wood to the sleek opulence of high-gloss lacquer.
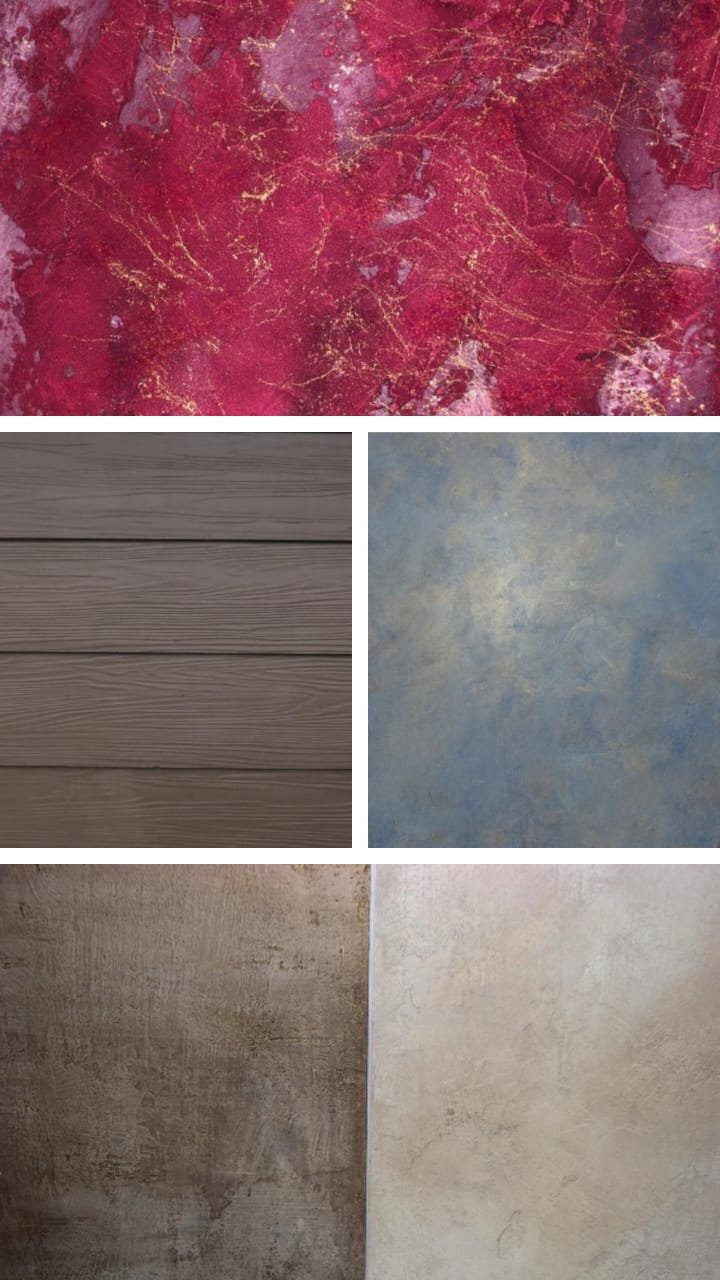
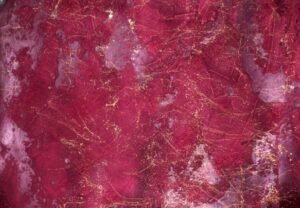
Utilizing mithila paints within the realm of faux finishing can further enrich the overall artistic expression. Known for their vivid hues and intricate patterns, mithila paints can infuse a touch of cultural heritage into modern design. Their application in faux finishing not only adds aesthetic value but also pays homage to the rich artistic traditions from which they originate. As we delve deeper into the techniques, tips, and inspirations for mastering faux finishes, we set the stage for an enriching exploration into this timeless art form.
Materials and Tools Needed for Faux Finishing
Faux finishing is an intricate process that requires a variety of specialized materials and tools to achieve the desired effect. Proper preparation and having the right equipment are crucial for successfully executing a faux finish, making it essential to know precisely what you need before starting your project.
To begin with, specialty brushes are indispensable for faux finishing. Various types of brushes, such as wide brushes, floggers, and fan brushes, each serve unique purposes, from creating broad strokes to delicate details. Sponges, particularly natural sea sponges, are equally critical, offering the capacity to produce texture and depth. Different sponges can help achieve varied patterns and subtleties in the finish.
Trowels are another vital component of the faux finishing toolkit. Both Venetian trowels and plastic trowels are commonly used, allowing the application of plasters and achieving smooth or textured surfaces. Glazes, which are usually translucent, play a significant role in adding layers and dimension to the finish. They can be mixed with pigments or paints to produce either muted or vibrant effects.
In terms of paints, opting for high-quality options ensures durability and a superior outcome. Water-based or acrylic paints are often preferred for their ease of use and quick drying times. Specific types of paints, such as metallic or pearlescent, may be needed depending on the desired effect.
Beyond the creative tools, safety equipment cannot be overlooked. Personal protective gear, including gloves, goggles, and masks, is essential to protect oneself from the hazards of the materials and airborne particles. Additionally, preparatory materials, like painter’s tape, drop cloths, and primer, set the foundation for a clean and professional result.
By equipping yourself with these essential materials and tools, you can approach your faux finishing project with confidence, ensuring you achieve a stunning and sophisticated look. Whether you aim to imitate the elegance of mithila paints or create a modern, sleek finish, preparation is the key to mastering the art of faux finishing.
Preparing Your Surface
Proper surface preparation is the cornerstone of achieving a successful faux finish. Whether you are working on walls, furniture, or ceilings, taking the time to meticulously prepare your surfaces will ensure that the final outcome is both durable and visually appealing. This process involves several crucial steps: cleaning, sanding, priming, and repairing any imperfections that may exist.
To begin, thoroughly clean the surface to remove any dust, dirt, or grease. For walls and ceilings, a mixture of water and mild detergent can be used with a sponge. Be sure to rinse off any soap residue with clean water and allow the surface to dry completely before proceeding. For furniture, a damp cloth might suffice, but stubborn stains may require a specialized cleaning solution.
Once cleaned, the next step is sanding. This process is essential in creating a smooth base for the faux finish. Use fine-grit sandpaper to gently sand the surface, removing any rough patches or old paint. Sanding furniture might require a bit more care, especially around intricate details or carvings. After sanding, wipe down the surface with a damp cloth to eliminate any dust particles.
Priming is the third step and should not be overlooked. Choosing the right primer is essential, as it helps the faux finish adhere better and provides a uniform base color. Apply a coat of high-quality primer evenly across the surface using a brush or roller. Allow it to dry as per the manufacturer’s instructions.
Finally, inspect the surface for any imperfections such as cracks, holes, or dents. Use a suitable filler to repair these areas and sand smooth once the filler is dry. A perfectly smooth surface will enhance the final appearance of your faux finish, making it look highly professional.
By diligently following these preparation steps, you can set the stage for a magnificent faux finish that transforms your space with aesthetic finesse, echoing the timeless appeal of Mithila paints and their intricate designs.
Basic Faux Finish Techniques
Faux finish techniques are a fantastic way to add texture and dimension to walls, transforming a plain surface into a captivating focal point. Among the foundational techniques are sponging, rag rolling, and color washing, each offering unique artistic opportunities. Let’s delve into these methods, providing step-by-step instructions and tips for successful execution.
Sponging is a versatile technique that creates a soft, textured appearance. Begin by selecting two or three complementary colors. After painting the base coat and allowing it to dry completely, dip a natural sea sponge into your second color, dabbing off the excess. Gently press the sponge against the wall in a random pattern, rotating the sponge to avoid repetitive prints. For added depth, apply a third color with the same technique. The outcome is an organic, mottled effect that can be subtly elegant or vividly bold based on your color choices.
Next is rag rolling, which imparts a dynamic, marbled look. Start with a base coat of your chosen color and let it dry thoroughly. Soak a cloth in water and wring it out before rolling it into a loose, cylindrical shape. Dip the rag lightly into your top coat paint, then roll it over the wall in varied directions. This method results in a plush, marbled surface that shifts with the light, adding visual intrigue to any room.
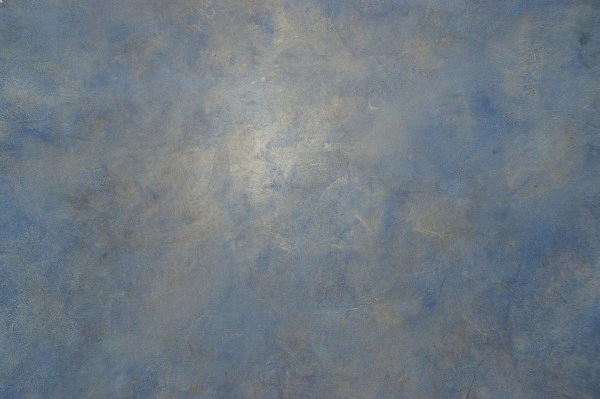
Color washing offers a softer, almost ethereal feel. This technique requires a translucent glaze mixed with a compatible paint color. Begin with a dry base coat. Then, use a wide brush or a rag to apply the glaze in sweeping, overlapping strokes. To achieve a smoother finish, blend the edges using a clean rag. Color washing can evoke the serene, flowing qualities of mithila paints, known for their graceful, fluid patterns and hues.
Mastering these basic faux finish techniques not only boosts confidence but also allows for creative experimentation. By starting with sponging, rag rolling, and color washing, one can achieve a range of compelling effects, transforming simple walls into works of art. Through practice, you’ll uncover the endless possibilities within faux finishing, each more stunning than the last.
Advanced Faux Finish Methods
For artists and enthusiasts who have mastered the basics of faux finishing and are ready to elevate their craft, advanced techniques like Venetian plaster, marbling, and wood graining provide opportunities to create stunning, sophisticated surfaces. These methods, though more intricate, can impart a sense of luxury and depth to any space. Below, we explore each technique with detailed instructions and tips to help you achieve the best results.
Venetian Plaster: Renowned for its smooth, marble-like finish, Venetian plaster is a time-honored technique originating from Italy. To begin, apply a primer to your surface, then layer a Venetian plaster compound using a trowel or spatula. The key is to apply multiple thin coats, allowing each to dry thoroughly before adding the next. As you build up the layers, use varying strokes to create subtle textures. Once the final coat is dry, burnish the surface with a steel trowel to achieve that characteristic sheen. For a further enhanced finish, consider adding a clear wax or sealer.
Marbling: Emulating the luxurious look of marble involves patience and precision. Start by choosing your base color and apply it evenly over your primed surface. Once dry, mix three or four complementary shades of marble veins. Using a small artist’s brush, apply the vein colors in a random pattern, mimicking natural marble veins. Feather the edges of each vein with a dampened sponge to attain a more organic appearance. To finalize the marbling effect, a glaze layer can be added, giving the surface an authentic depth and shine.
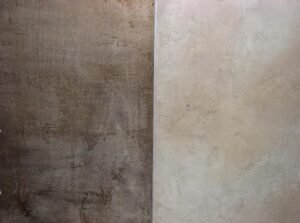
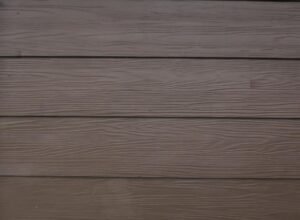
Wood Graining: This technique is perfect for adding a rustic or antique touch to your interiors. Begin by selecting a base paint color that resembles the undertone of wood. After the base coat dries, prepare a wood grain tool and a darker glaze or wood stain. Apply the glaze and immediately drag the wood grain tool through it, alternating direction to replicate natural wood variations. Adjust the pressure and angle to achieve different grain patterns. Additional texture can be added using fine brushes or combs for a more realistic effect.
Mastering these advanced faux finish techniques not only broadens your artistic skill set but also allows you to transform mundane surfaces into captivating works of art. Each method brings its unique charm, whether it’s the opulence of Venetian plaster, the elegance of marbling, or the warmth of wood graining. Embrace the complexity, practice diligently, and your efforts will be rewarded with breathtaking finishes that showcase your mastery in the art of faux painting.
Inspiration and Design Ideas
The path to mastering faux finish techniques begins by drawing inspiration from a multitude of sources. Whether you are designing a cozy residential space or enhancing a commercial environment, the integration of thoughtful faux finishes can elevate any decor. Consider the artistic allure of Mithila paints, which can add an ethnic and vibrant touch to your projects, while seamlessly blending with contemporary or traditional decor styles.
For a living room, envision a trompe-l’œil mural that creates the illusion of an expansive garden or a serene lakeside view. This technique not only enlarges a constrained space but also introduces an element of nature, bringing tranquility and sophistication to the interiors. On the other hand, a faux marble finish on a fireplace mantle or accent wall exudes timeless elegance and harmonizes beautifully with both vintage and modern furniture.
In commercial settings such as boutique hotels or upscale restaurants, faux finishes can be instrumental in crafting a distinctive atmosphere. Hand-painted Mithila motifs can adorn a feature wall, offering guests an immersive cultural experience. Paired with minimalist furniture, the vibrant colors and intricate designs become focal points that captivate attention and spark conversation.
Bathrooms can undergo transformative makeovers with faux finishes that mimic the opulent appeal of Venetian plaster. This technique exudes luxury and complements sleek ceramic and metal fixtures. Similarly, kitchens benefit from faux wood or stone finishes that bring warmth and natural texture, creating an inviting space for family gatherings and culinary adventures.
Take inspiration from real-world examples and case studies. Consider a reader-submitted project where a bedroom was revitalized with a faux metallic finish, lending the room a contemporary and chic vibe. Or another case where a dining area featured Mithila paints, with each segment narrating a different folklore, creating a storytelling canvas that unified the space.
Ultimately, the essence of faux finishes lies in their versatility and ability to adapt to any aesthetic or purpose. By thoughtfully integrating these techniques into your design arsenal, your spaces can reflect creativity and personality, all while maintaining a polished and sophisticated appearance.
Troubleshooting Common Faux Finish Problems
While mastering the art of faux finish can be immensely rewarding, every project can confront challenges that may hinder the desired outcome. Addressing these common problems proactively can ensure a smoother process and a more satisfactory finish.
One prevalent issue is uneven textures. This problem often arises when the material is applied inconsistently or when the drying times between coats are not properly managed. To mitigate this, it is crucial to meticulously follow the application guidelines. Make use of a quality brush or roller and apply the material in thin, even layers. Should uneven textures persist, lightly sanding the surface before applying a final, thin coat can help achieve a more uniform appearance.
An equally frustrating issue is peeling, which typically occurs due to inadequate surface preparation. Ensuring the base surface is clean, dry, and free of any contaminants can significantly reduce the risk of peeling. Primers designed specifically for faux finishes can provide better adhesion and longevity to your project. If peeling occurs post-application, remove the peeling section thoroughly, sand the area smooth, and reapply the base coat before attempting the faux finish again.
Undesirable coloration is another challenge often encountered. This can result from improper mixing of colors or from interactions with previous paint layers. Test your color mix on a small, inconspicuous section before full application to confirm it meets your expectations. Additionally, consistent stirring during paint preparation can prevent color separation and ensure a uniform hue throughout the project. If discoloration arises after the final application, it may indicate incompatibility with the previous paint layer or environmental factors like humidity; in such cases, applying a sealer over the faux finish can often rectify the issue.
By understanding and addressing these common faux finish problems, from uneven textures and peeling to undesirable coloration, you can enhance your project’s success. With attention to detail and adherence to best practices, your faux finish endeavors can achieve a professional and polished look.
Maintenance and Longevity of Faux Finishes
Ensuring the longevity and pristine appearance of faux finishes requires careful and consistent maintenance. While these artistic applications can greatly enhance the aesthetic of any space, without proper care, they can quickly lose their charm. The first step in preserving faux finishes is to dust regularly with a soft cloth or microfiber duster. This prevents the accumulation of debris that could potentially damage the surface. For more stubborn dirt, a gentle wipe with a damp sponge and mild soap solution can be effective. However, it’s crucial to avoid abrasive cleaners, as these can erode the delicate patterns characteristic of techniques like Mithila paints.
In addition to routine cleaning, it’s important to be mindful of environmental factors that could affect the longevity of faux finishes. Direct sunlight can cause fading over time, so employing shades or curtains can be beneficial. Similarly, maintaining appropriate humidity levels in the room can prevent peeling or cracking, particularly in climates with extreme seasonal variations. Humidifiers or dehumidifiers can be useful in stabilizing conditions to preserve the integrity of the finish.
Protective measures can also extend the life of faux finishes significantly. Applying a clear sealant, particularly in high-traffic or moisture-prone areas like kitchens and bathrooms, adds an extra layer of defense against wear and tear. When considering sealants, it’s advisable to select products specifically designed for painted finishes to ensure compatibility and effectiveness.
Finally, from time to time, touch-ups may be necessary to address minor blemishes or wear. The key to successful touch-ups lies in keeping a record of the original paint colors and techniques used. Small kits, containing appropriately matched paint and tools, can make on-the-spot repairs both simple and seamless. Adopting a proactive maintenance routine will protect the investment in your faux finish, ensuring the stunning effects of Mithila paints and other faux techniques continue to delight and impress for years to come.